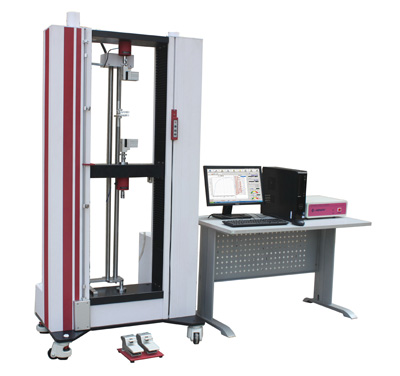
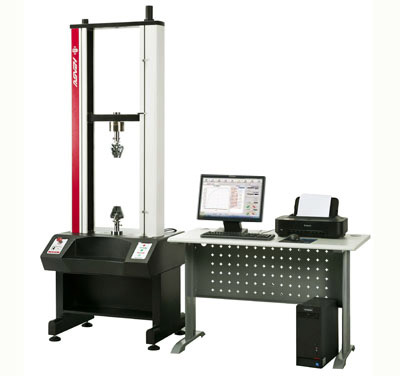
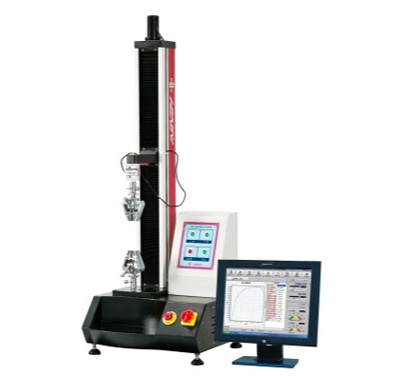
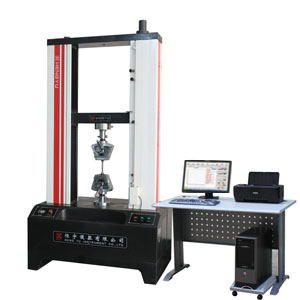
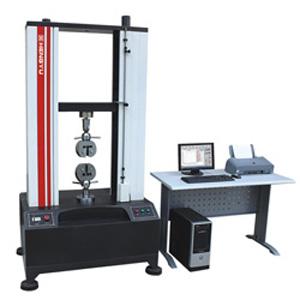
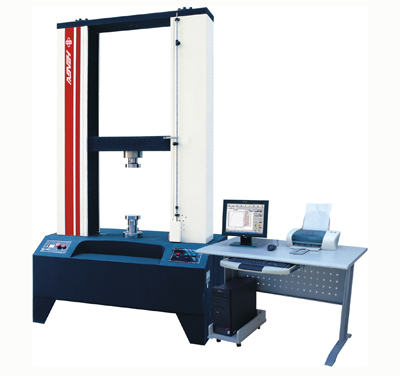
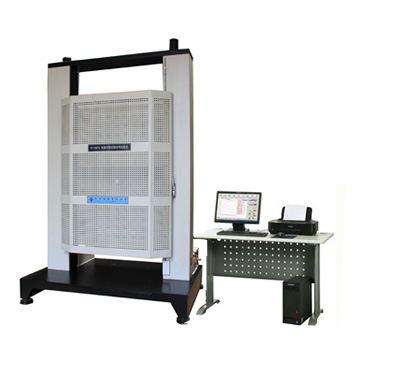
HY-928 Computer Servo Control Materials Testing Machine
| Product Name: | Computer Servo Control Materials Testing Machine |
|---|---|
| Model: | HY-928 |
| Category | tensile tester |
| Origin: | China |
Product description: This machine is widely used in all types of metal, hardware … and other materials, testing, tensile, tearing, bending and other materials research and development, inspection and testing, it is full functionality, wide range of uses.
Software features:
1, Software Environment: Chinese and English HY-V software package under Windows 7 platform
2, Language selection: a Chinese Simplified, Chinese Traditional, English and other languages interface freely switch operation, which greatly facilitates the operator’s use.
3, Unit conversion: with all common power and displacement, and energy, they can free conversion.
4, Basic functions: calculate and list data graphics: the basic parameters of a material testing machine: ①yield point. ②0.2% off set. ③Yield strength. ④ Tensile strength. ⑤Elongation. ⑥Energy absorption. ⑦Maximum. ⑧Rupture values. ⑨Deformation amount. ⑩Averages. ⑾More than twenty parameters contrast to graphics..
5, Multiple curve display mode: Stress – strain, Force – displacement, Force – time,
Strength – Time and other curve patterns.
6, The use of information: use database management testing and standards, so that author can use pre-built data or self-build.
7, Test mode: comprising anti- tension, bending, compression, adhesion, tear, peel, elongation… and other settings.
8, Control mode: fixed displacement, fixed speed, constant strain rate, fixed load, fixed load rate, fixed strain rate, etc.
9, Convenient and practical zeroing function: strength, elongation, displacement, just presses a button to manually zero, while the beginning of the test, system has automatic zeroing function.
10, Dynamic display: During the test, the load, elongation, displacement and experimental curves selected as testing, real-time dynamic display on the main screen.
11, Peak Hold: The whole process of testing, the maximum value of the test project always follow the test is displayed in the window on the screen.
12, Manual get the point function: with special manual get the point function during the process of the test.
13, Automatic identification: After destruction of the sample, the system automatically recognizes and as expected test requirements, automatically switches to complete the next function.
14, Automatic storage: test conditions, test results, the gauge location automatically stored.
15, Automated regression: it has the function of the Alliance board automatically return to the starting origin after the test is complicated.
16, Graphical Analysis: After the test is completed, you can use the mouse to view data from the test curve, any point on the test curve can be enlarged analysis, and choose Print.
17, The curve comparison: Curve of the sample in the same group can overlay contrast.
18, Report Output: Graphics and arguments are opened to customers and can be modified as required. It can output different report formats, convenient and easy to learn practical.
19, Range extended features: different capacities can be increased with the sensor, extensometer and fixtures to broaden the measurement range, in order to achieve a more accurate test precision.
20. Automatic fault detection: When the servo system fails, it can automatically diagnose the cause of the failure and the fault code is automatically stored in the servo drive, in order to quickly find and troubleshooting.
Technical date:
1, Load cell: 0.5 high-precision force sensor
2, Capacity choice: 200KN, 300KN (selection)
3, The accuracy rating: 1 level
4, Test Force test range: 0.4% ~ 100% FS
5, Load Accuracy: ± 1% or less
6, Load Resolution: 1/200000
7, Load Magnification: X1, X2, X5, X10, X20, X50, X100, etc. throughout the seven-level automatic transmission switch.
8, Displacement error: ± 1% of indicated value
9, Displacement resolution: 0.005mm
10, Deformation measurement range: 2% ~ 100% FS
11, Deformation indication error limit: Within ± 0.5% of indicated value
12, Large deformation measurement range: (10 ~ 1000) mm
13, The large deformation indication error limit: ± 1% of indicated value
14, The large deformation resolution: 0.008mm
15, Control System: Japan Panasonic servo controller
16, Transmission mode: Japan Panasonic servo motor
17, Motor Function: 3,75KW
18, The deceleration device: Italy Outes precision hollow aluminum reducer
19, Drive Alliance board: high-carbon steel forging, good mechanical strength properties, and no deformation.
20. The drive screw: Taiwan dual structure precision bowls screw
21, The guide bar: It is made by two Φ50 Korea Taijing Shaft, the surface is handled by high frequency and hard chrome plating, above HRC60.
22, Active bearings: Use Japan NSK high-carbon ball bearing.
23, Transmission system: Japanese high strength synchronous belt
24, The body structure: use the main frame and the control box split design.
25, Test speed range: (0.05~500) mm/min
26, Speed accuracy: Within ± 1% of indicated value
27, Test Stroke (excluding fixtures): 1000mm
28, Effective pillar spacing: 600mm
29, Fixture handling: All fixtures use hard chrome plating, above HRC55
30. Dustproof device: use Taiwan anti stack dust cover to protect the ball screw against the dust, and the lifetime and precision of ball screw.
31, The surface treatment of the body: Use DuPont powder, electrostatic painting process, ensure no fade permanently cured at high temperature of 200 ℃.
32, Display System: self-development HY-V software of dedicated software for material testing machine under Windows XP platform.
33, Data transfer: the 24 bit data transfer, RS-232 data transfer, all the parameters are stored in the surrounding hardware. Computer doesn’t need any extrapolation hardware, greatly facilitate the users to replace and upgrade, as well as Computer Maintenance.
34, Multiple protection devices:
①,Machine opening stroke switch protection upper and lower limit stroke
②, An emergency stop switch brake protection
③, Over current, overvoltage, under current, under voltage, leakage overload
④, Software overload limit protection
⑤, Breakpoint shutdown protection
35, Volume: (560x420x1800)mm
36, Power: AC220V 50HZ
37, Weight: about 260kg
Attachments:
①, making a pair jig according to your products.
②, Chinese instrument manual.
③, instrument warranty card.
④, GB CNAS third-party tester calibration report.

